
Cleaning your air ducts might seem intimidating, but it doesn’t have to be. You can tackle this task in just five easy steps, starting with gathering your supplies and ensuring your safety. Once you’ve got everything ready, you’ll turn off your HVAC system and carefully remove the vent covers. After that, you’ll clean the ducts to greatly enhance your indoor air quality. It’s straightforward, but there’s an essential detail that can make all the difference in your results. Curious about what that is?
Key Takeaways
- Gather essential cleaning supplies such as a vacuum, microfiber cloths, and safety gear including goggles and a dust mask.
- Turn off the HVAC system to ensure safety and prevent dust circulation during the cleaning process.
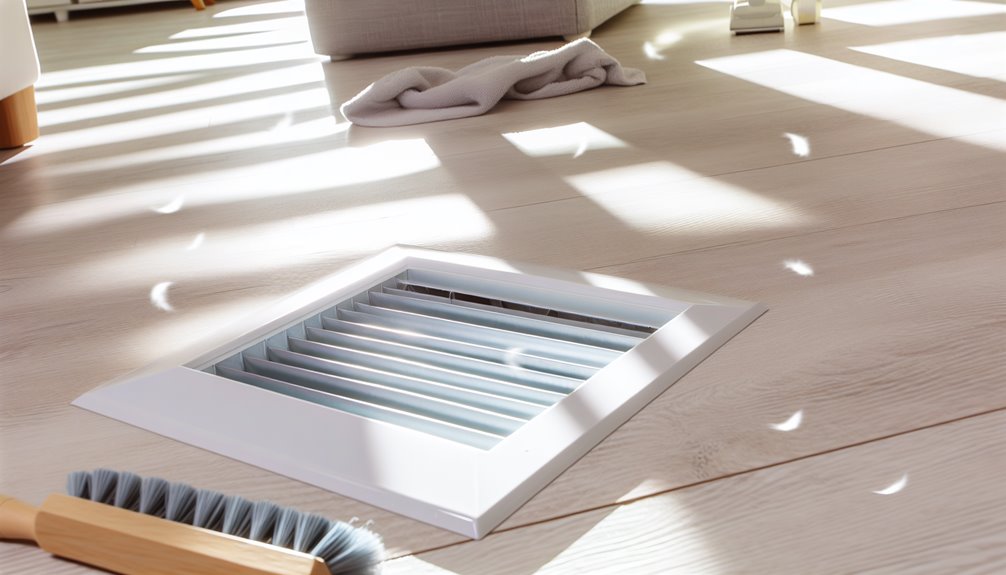
- Remove vent covers using a screwdriver or by hand for magnetic covers, and clean edges with a damp cloth.
- Use a vacuum with a long hose and a stiff-bristled brush to clean the ducts and remove stubborn dirt.
- Reassemble the ductwork securely, ensuring all connections are tight, then turn on the HVAC system to test airflow.
Gather Your Cleaning Supplies
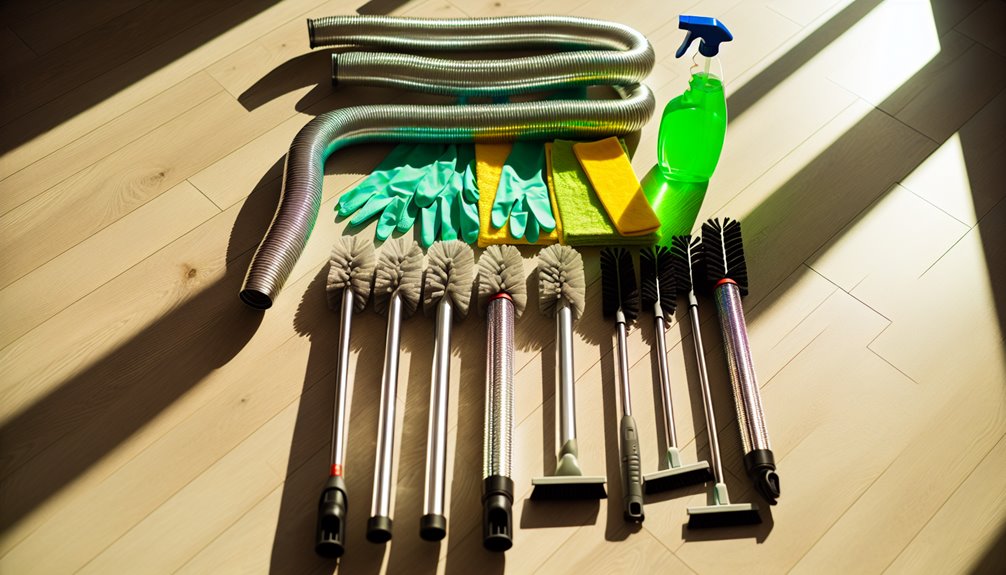
Before diving into the DIY air duct cleaning process, you’ll need to gather the right cleaning supplies. Start by collecting essential cleaning tools like a vacuum with a hose attachment, a soft brush, and microfiber cloths. These tools will help you effectively remove dust and debris from your ducts without causing damage.
Don’t forget to grab a flashlight to illuminate any dark areas inside the ducts. This’ll make it easier to spot dirt and blockages. A pair of safety goggles and a dust mask are also vital safety precautions to protect yourself from airborne particles while you work.
You may want to take into account wearing gloves to keep your hands clean, especially if you come across stubborn grime. If your ducts are particularly dirty, a mild cleaning solution can be handy for a deeper clean.
Finally, it’s wise to have a ladder on hand if you need to access ducts located in high places, like attics.
With all your cleaning tools ready, you’re set to tackle the air duct cleaning process efficiently and safely!
Turn Off Your HVAC System
Turning off your HVAC system is an important step in the DIY air duct cleaning process. By doing this, you guarantee your safety and prevent any dust and debris from circulating while you work. It’s a simple yet vital part of effective HVAC maintenance.
Before you begin, locate your thermostat or the circuit breaker and turn off the system completely.
Once your HVAC system is off, you can focus on cleaning without worrying about the unit turning on unexpectedly. This not only protects you but also improves your air quality during the cleaning process. If you leave the system running, dust and contaminants can re-enter your freshly cleaned ducts, defeating your efforts.
Additionally, turning off your HVAC system allows you to inspect it for any potential issues while you’re at it. Look for any signs of wear or damage that could impact your air quality.
Remove Vent Covers
With your HVAC system safely powered off, it’s time to start cleaning your air ducts by removing the vent covers.
Begin by identifying the vent cover types in your home. You’ll likely encounter grilles, registers, and diffusers, each requiring different removal techniques.
For most standard vent covers, you’ll need a screwdriver, so grab your cleaning tools. Depending on the screws’ type, you might need a flathead or Phillips screwdriver. If you’re dealing with a magnetic vent cover, simply pull it off gently without any tools.
Once you’ve removed the covers, place them in a designated area to avoid losing screws. Pay attention as you work, making sure you don’t bend or break any covers, as they can be fragile.
If you find any dust or debris around the edges of the vents, take a moment to wipe that away with a damp cloth.
Removing vent covers is a simple yet crucial step in your DIY air duct cleaning journey. This guarantees that when you move on to clean the ducts themselves, you won’t be obstructed by any dirt or grime lingering on the covers.
Clean the Ducts
Cleaning the ducts is an essential part of guaranteeing your HVAC system runs efficiently and your indoor air quality remains high. Start by using a high-quality vacuum with a long hose attachment to reach deep into the ducts. This method helps remove dust, allergens, and debris that can accumulate over time. Don’t forget to wear a mask to protect yourself from inhaling any particles.
For more thorough duct maintenance tips, consider using a stiff-bristled brush to dislodge stubborn dirt. Gently scrub the interior surfaces of the ducts, making sure you don’t damage them.
Once you’ve vacuumed and brushed, you can use a damp cloth to wipe down the duct openings and surrounding areas to catch any remaining dust.
If you have access to a blower, this can be an effective tool for air quality improvement. Just make sure the blower is clean and free of contaminants.
After cleaning, take a moment to inspect your ducts for any signs of damage or mold, as these can severely impact your air quality. Regular cleaning not just helps maintain your system but also promotes a healthier living environment for you and your family.
Reassemble and Test
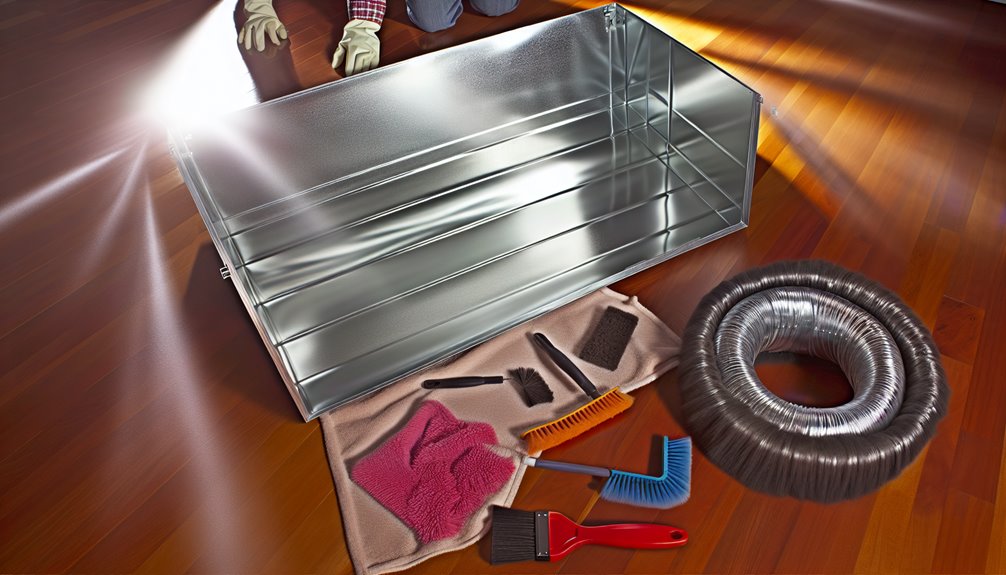
After you’ve thoroughly cleaned your ducts and confirmed everything is in top shape, it’s time to reassemble the components. Start by ensuring you have all the parts ready and that they’re dry. Follow these steps to get everything back together:
- Reconnect the Ducts: Carefully fit each duct section back together, ensuring all seals are tight.
- Secure the Vents: Reattach the vent covers or grilles, making sure they’re aligned properly to prevent airflow restrictions.
- Check for Gaps: Inspect your connections for any gaps or loose ends that may need additional sealing.
- Power Up: Once everything’s in place, turn on your HVAC system to check for proper operation.
Now, it’s time to test airflow. Feel the air coming from each vent—this will help you gauge whether your cleaning efforts paid off.
If you notice weak airflow, double-check your reassembled components. A well-functioning system means cleaner air and increased efficiency. Enjoy the fresh air that comes from your hard work!
Frequently Asked Questions
How Often Should I Clean My Air Ducts?
You should clean your air ducts every three to five years, following frequency guidelines that consider factors like pets, allergies, or recent renovations.
If you notice dust buildup or unusual odors, it’s time to adjust your cleaning schedule.
Regular maintenance not just improves air quality but also enhances your HVAC system’s efficiency.
Keep an eye on your ducts, and don’t hesitate to clean them more often if needed for a healthier home environment.
Can I Hire a Professional Instead of DIY?
When you think about your air ducts, imagine a winter’s day where every breath feels crisp and clean.
Hiring professional services can guarantee your ducts are thoroughly cleaned, often more effectively than DIY methods.
While you might weigh the cost comparison, consider the time saved and the expertise they bring.
Professionals can spot issues you may overlook, giving you peace of mind and a healthier home, making it a worthy investment.
What Tools Are Essential for Duct Cleaning?
When addressing duct cleaning, you’ll need some essential equipment to get the job done efficiently.
Start with a high-powered vacuum to remove debris and dust. Duct cleaning tools like brushes and extension rods help you reach deep into the ducts.
A flashlight is handy for inspecting hard-to-see areas, and a protective mask guarantees you’re safe from allergens.
With these duct cleaning tools, you’ll secure a thorough, effective cleaning process.
Are There Any Health Benefits to Cleaning Ducts?
Cleaning your air ducts can offer significant health benefits.
You’ll likely experience allergy relief as removing dust, mold, and allergens helps create a healthier environment.
Plus, improved airflow means your HVAC system won’t have to work as hard, potentially lowering energy costs.
Regular duct cleaning can also reduce irritants that trigger respiratory issues, making your home a more comfortable space.
How Do I Know if My Ducts Need Cleaning?
You can spot signs indicating your ducts need cleaning by looking for dust buildup around vents, unusual odors, or increased allergies.
Conduct a duct inspection by checking for visible dirt and debris inside the system. If you notice mold growth or hear strange noises when your HVAC system runs, it’s time to take action.
Regular checks help maintain airflow and improve indoor air quality, keeping your home healthier and more comfortable.
Conclusion
By following these five easy steps, you can breathe new life into your indoor air quality. Cleaning your air ducts isn’t just a chore; it’s an investment in your health and comfort. Just like a fresh coat of paint brightens a room, clean ducts refresh your home’s atmosphere. So roll up your sleeves, grab those supplies, and give your HVAC system the care it deserves. You’ll notice the difference in the air you breathe!